
Benefits of Pot Lights Installation in Toronto
Pot Lights Installation in Toronto
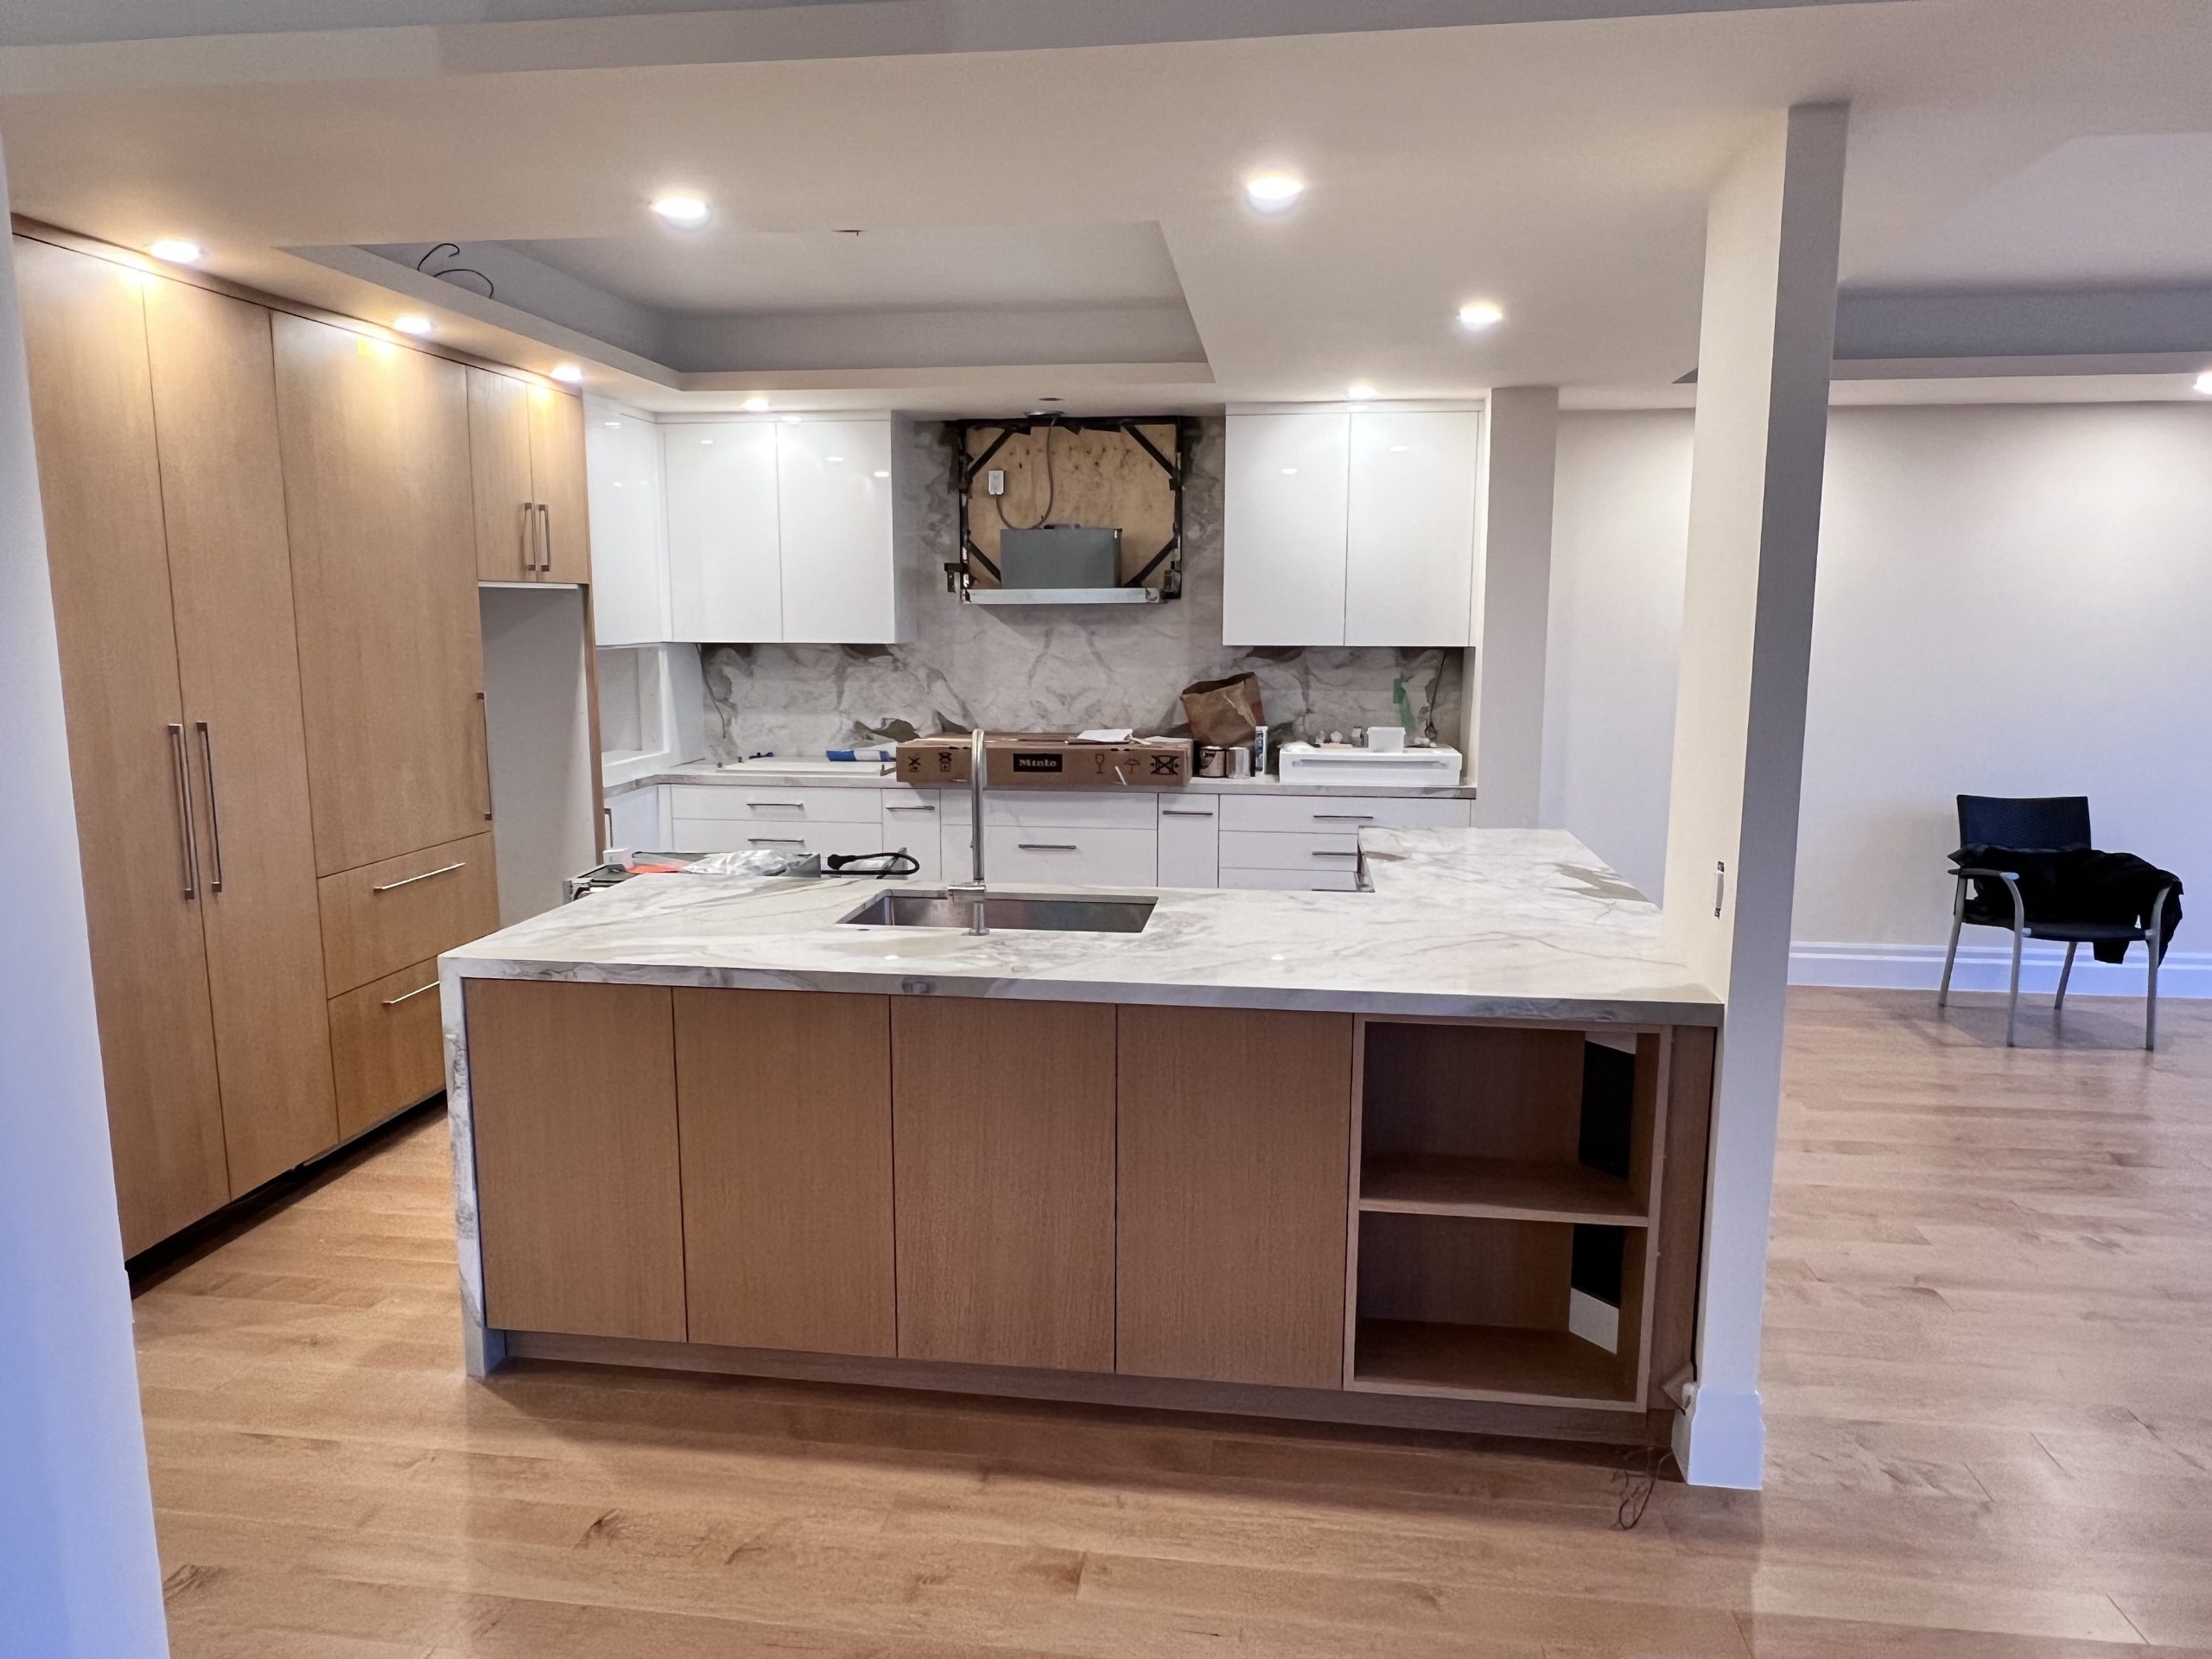
Are you considering enhancing the ambiance and functionality of your home with pot lights installation services in Toronto? Pot lights are an excellent choice to create a sleek, modern look while improving energy efficiency. Let us explore how these lights can elevate your space.
Energy Efficiency and Cost Savings with LED Pot Lights
One of the standout benefits of pot lights installation is the energy efficiency that comes with LED pot lights. These modern lights consume significantly less energy compared to traditional incandescent bulbs. This means reduced electricity bills for your household or business. Over time, the cost savings for recessed lighting can be substantial, helping you keep more money in your pocket while contributing to a greener environment.
Indoor Pot Lights Installation and Versatility
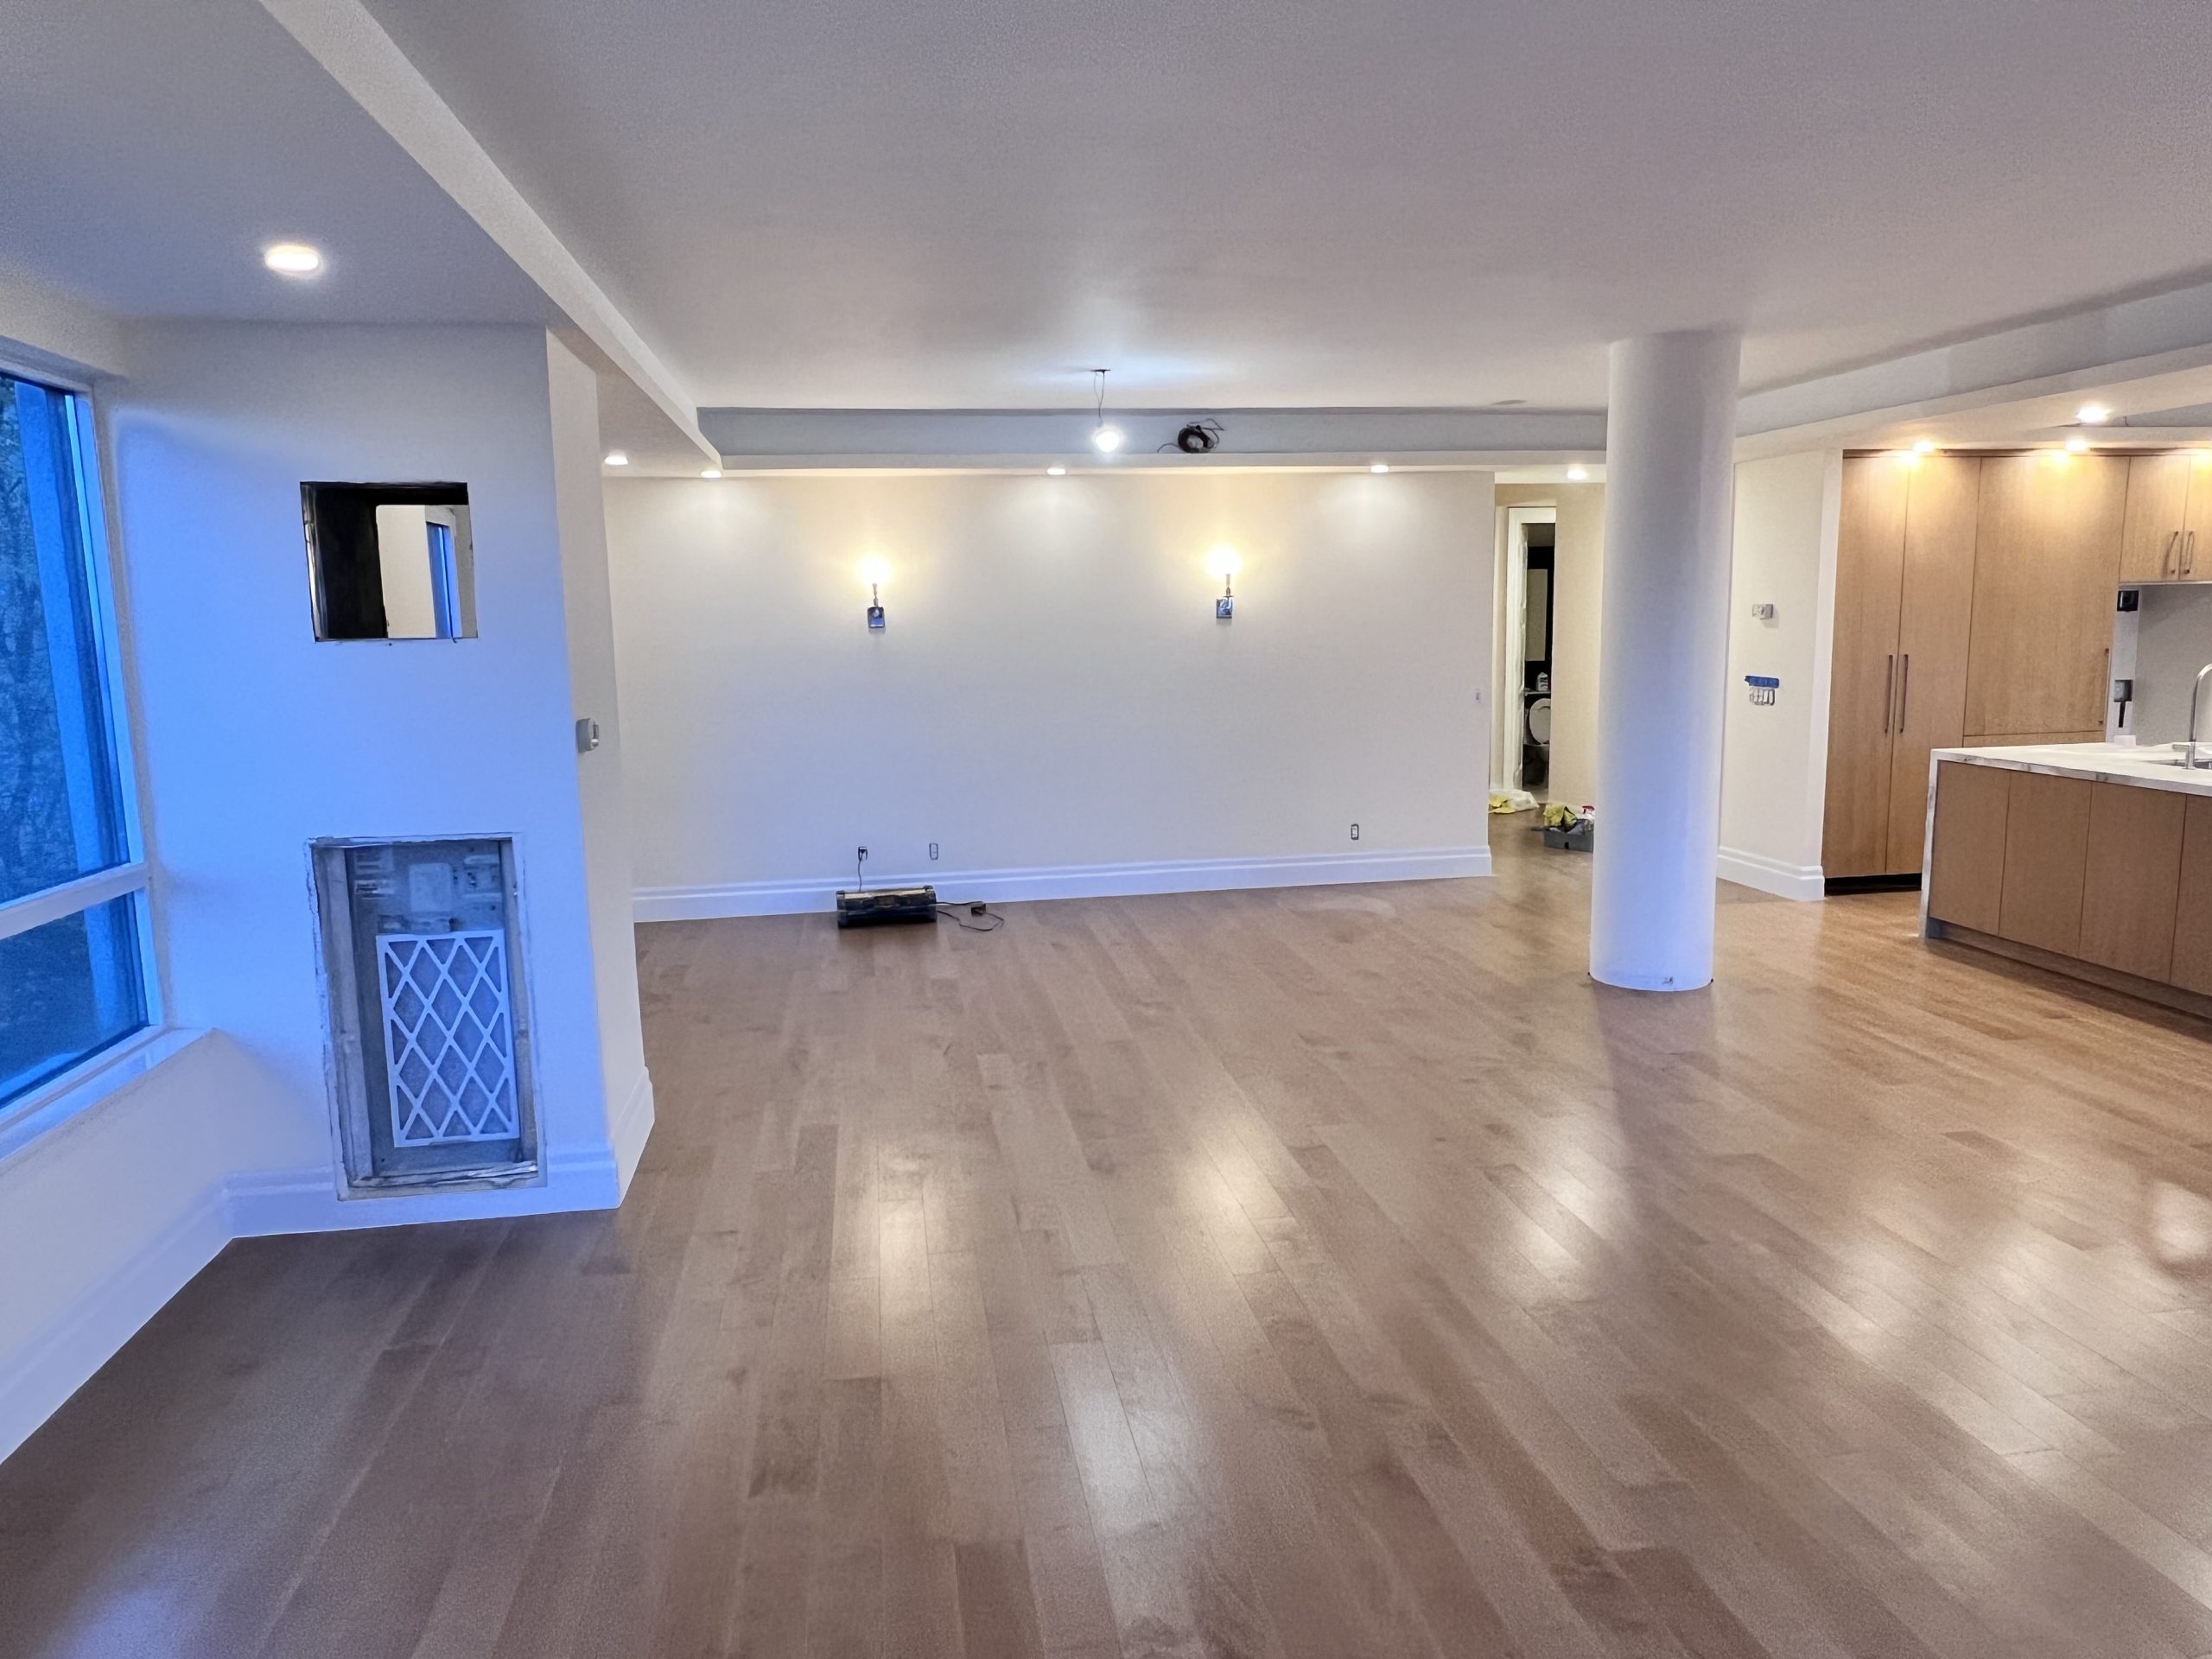
Indoor pot lights installation is ideal for providing consistent, even lighting that complements your interior design. Whether used in the kitchen, living room, or hallways, recessed lighting offers versatility. It highlights key features of your space, like artwork or architectural details, and creates a more open and spacious feel without cluttering your ceiling with bulky fixtures.
Why Choose a Professional Pot Lights Electrician in Toronto
Hiring a professional pot lights electrician in Toronto ensures that your lighting installation is done safely and correctly. A skilled electrician can plan the lighting layout to maximize efficiency and aesthetics, avoiding potential issues like poor wiring or uneven lighting distribution. Additionally, professional installation can lead to insurance discounts, giving you peace of mind in knowing that your home is in safe hands.
Recessed Lighting Benefits
Recessed lighting is more than just a trend—it offers practical benefits like increased property value, enhanced home security, and adaptability to different room types. Whether you need accent lighting or functional task lighting, pot lights can meet your needs efficiently while maintaining a minimalist look when are professional installed .
Conclusion
Opting for pot lights installation in Toronto is a fantastic way to boost your home’s aesthetics, energy efficiency, and overall value. Reach out to us for professional pot light installation services to transform your home into a well-lit, welcoming space.
The popularity of pot lights installation is gaining grounds faster than previously expected. These lights were only popular with the highly expensive apartments or government offices back then, but because of their beauty and the many benefits, homeowners have embraced pot lights installation.

These lights assume a cook’s pot shape, they appear as expensive home lighting bulbs but they are not that expensive. They may be the only thing missing in a house for it to sell at the maximum price expected, or for the homeowner to fell the happiness that comes with a perfect home. When these energy-efficient lights are professionally mounted, you can except the following prime benefits:
Pot Lights Installation – Security and peace of mind
When installed outdoors, pot lights will give a home the benefit of enhancing its security lighting during the night. They can be mounted overhangs and under eves. There is a way in which a professional Toronto electrician can direct the lights toward the doors and windows, which certainly will discourage intruders or burglars from breaking into your home. Burglars try as much as possible to keep off the well-illuminated areas, especially those with pot lights.
You can have the pot lights integrated such that motion sensor turns the lights on when your car moves in and out of its parking yard, again tightening your security lighting. Besides that, you may need a timer installed together will the lights so that they be turning on and off on their own. That gives you the peace of mind that your home is well lighted even when you not at home.
Toronto Pot lights installation raises the value of a home
Pot lights have the ability to magically transforming a home into something valuable in terms of appearance. In fact, you can pretend that you are shopping for a home and you’ll realize that homeowners who’ve installed pot lights in Toronto sell their properties more expensive. These light bring in a sense of a valuable treasure on a home.
They suite various placements and ups the aesthetic value the home
When laying out a design for placing your lights, at least discus with the technician on the different configurations and angles that will as well showcase the artistic qualities in the various rooms. The adjustable bulb inside the pot light makes it able to shine brightly like a spotlight on your home décor hence illuminating the artistic value and quality of the decorations.
Insurance company discounts
Due to the fact that this type of project is consider as a security enhancer, established Toronto insurance companies give discounts to home owners who opt for this lights. When the insurance agents come to inspect your home in case of a burglary incident they will obviously see you tightened up your security therefore you may end up being easily compensated. In fact, when filling for claims you can as well attach the photos showing you did your best to keep away the burglars through pot lights installation services.
These bulbs are generally highly efficient, low-energy and low heat, making them more durable. You will not need to regularly replace the bulb inside the pot light fixture, as it is with other common short-life bulbs.

Step-by-Step Guide for Installing Recessed Lighting Without Attic Access in Toronto
1. Check Local Codes and Obtain Permits
- Toronto Regulations: Contact the Electrical Safety Authority (ESA) to determine if a permit is required. DIY electrical work may need inspection for compliance with Ontario Electrical Safety Code.
- Note: Hiring a licensed electrician is recommended for complex tasks or if unsure about local codes.
2. Plan the Layout
- Mark Locations: Use a pencil to outline light positions, ensuring even spacing (typically 4-6 feet apart). Avoid joists by scanning the ceiling with a stud finder.
- Circuit Capacity: Confirm the existing circuit can handle added load (LED bulbs recommended for lower wattage).
3. Gather Tools & Materials
- Tools: Drill, hole saw, stud finder, voltage tester, fish tape/glow rods, wire strippers, ladder, drywall saw, flexible drill bit (if needed).
- Materials: IC-rated remodel housings (for insulation safety), LED trim kits, NM-B electrical wire, wire nuts, screws, junction box (if extending circuit).
4. Turn Off Power
- Shut off the circuit breaker for the room. Use a non-contact voltage tester to confirm power is off at the work area.
5. Cut Ceiling Holes
- Use a Hole Saw: Attach to drill and cut at marked locations. Avoid joists and check for obstructions (e.g., pipes, ducts).
- Tip: Start with a small pilot hole to inspect the cavity if unsure.
6. Run Wiring
- Fish Wires: From an existing power source (e.g., nearby light fixture or outlet). Use fish tape/glow rods to navigate ceiling cavities.
- If fire blocks are present, drill through them with a flexible auger bit.
- Connect to Circuit: Splice wires into the existing junction box. Use wire nuts and ensure connections are secure.
- Code Compliance: All junctions must remain accessible (e.g., in an existing fixture box).
7. Install Remodel Housings
- Secure Housing: Insert the IC-rated remodel housing into the hole. Tighten mounting clips to grip the drywall firmly.
- Fire Safety: Ensure housings are IC-rated if near insulation to prevent overheating.
8. Wire the Lights
- Connect Wires: Match black (hot), white (neutral), and ground (copper/green) wires from the housing to the circuit. Use wire nuts.
- Parallel Circuit: Daisy-chain wires between lights if installing multiple units.
9. Attach Trim and Bulbs
- Install Trim: Snap the trim kit into the housing. Insert compatible LED bulbs (included in most kits).
10. Test and Secure
- Restore Power: Turn the breaker back on and test each light.
- Inspect: Check for flickering or loose connections. Turn off power again to adjust if needed.
11. Finalize and Clean Up
- Secure Housings: Ensure all mounting clips are tight. Patch any accidental drywall damage.
- Clean: Remove debris and dispose of materials properly.
12. Schedule Inspection (If Required)
- Contact ESA for a post-installation inspection to ensure compliance with local codes.
Safety Tips
- Wear safety goggles and gloves when cutting drywall.
- Never work on live wires. Double-check with a voltage tester.
- Use LED bulbs to reduce heat and energy consumption.
Challenges to Anticipate
- Fishing Wires: Use glow rods for better visibility in dark cavities.
- Fire Blocks: Drill carefully with flexible bits to avoid damaging wires.
- Circuit Overload: Calculate total wattage (amps × volts) to avoid exceeding circuit capacity.
By following these steps, you can safely install recessed lighting in Toronto without attic access while adhering to local regulations. When in doubt, consult a professional electrician.
Comprehensive Step-by-Step Guide for Installing Recessed Lighting (Pot Lights) Without Attic Access in Toronto
1. Pre-Installation Preparation
a. Research Local Codes & Permits
- Toronto Regulations: Contact the Electrical Safety Authority (ESA) to confirm permit requirements. Most electrical work in Ontario requires an ESA inspection.
- Permit Process: Submit installation plans to ESA if adding new circuits. DIYers must pass inspection for compliance with the Ontario Electrical Safety Code.
- Tip: Hiring an ESA-licensed electrician is advised for complex jobs (e.g., extending circuits).
b. Plan the Layout
- Mark Locations:
- Use a stud finder to map ceiling joists (typically spaced 16″ or 24″ apart).
- Mark light positions between joists, avoiding obstructions (pipes, ducts).
- Space lights 4–6 feet apart for even illumination (adjust based on room size and beam angle).
- Circuit Capacity:
- Calculate total wattage: LED bulbs (10–15W each) are ideal. Ensure the circuit does not exceed 80% of its capacity (e.g., 15A circuit = 1440W max; 12 lights x 15W = 180W).
- If needed, install a new circuit (hire a pro for this step).
2. Gather Tools & Materials
Tools:
- Non-contact voltage tester, stud finder, drill, hole saw (size matching housing), drywall saw, fish tape/glow rods, flexible auger bit (18″+), wire strippers, ladder, safety goggles, gloves.
Materials:
- IC-rated remodel housings (required if insulation is present).
- LED trim kits (integrated or retrofit).
- NM-B 14/2 or 12/2 wire (match existing circuit amperage).
- Wire nuts, junction boxes, screws, cable staples.
3. Turn Off Power & Prepare the Workspace
- Shut off the circuit breaker for the room.
- Confirm power is off using a non-contact voltage tester at the existing fixture/outlet.
- Cover floors/furniture to protect from dust.
4. Cut Ceiling Holes
a. Mark and Drill Pilot Holes:
- Use a small drill bit to create a pilot hole in the center of each marked location.
- Inspect the cavity for obstructions (e.g., ductwork, wiring) using a flashlight or borescope.
b. Cut Full Openings:
- Attach the hole saw to your drill and cut along the marked circles.
- For Plaster Ceilings: Use a drywall saw to minimize cracking.
5. Run Wiring
a. Fish Wires Between Joists:
- Start at an existing power source (e.g., light fixture, outlet). Remove the fixture to access the junction box.
- Use glow rods or fish tape to navigate the ceiling cavity:
- Feed wires horizontally between joists.
- If fire blocks (horizontal wooden barriers) are present, drill through them with a flexible auger bit.
b. Connect the Circuit:
- Strip wire ends and splice them into the existing junction box:
- Black (hot) to black, white (neutral) to white, ground (bare/green) to ground.
- Use wire nuts and secure connections with electrical tape.
- Code Note: All splices must remain in accessible junction boxes (e.g., existing fixture box).
c. Daisy-Chain Lights:
- Run NM-B cable from the first pot light to the next, connecting wires in parallel.
- At each housing:
- Black (hot) → pigtail to next light.
- White (neutral) → pigtail to next light.
- Ground → connect to housing’s ground screw.
6. Install Remodel Housings
- Insert the IC-rated housing into the ceiling hole.
- Tighten mounting clips until the housing is flush and secure.
- Insulation Warning: Ensure housings are IC-rated if installed near insulation to prevent fire hazards.
7. Wire the Housings
- Connect the circuit wires to each housing:
- Black (hot) → housing’s black wire.
- White (neutral) → housing’s white wire.
- Ground → housing’s green screw.
- Secure wires with wire nuts and tuck them neatly into the housing.
8. Attach Trim and Bulbs
- Snap the LED trim kit into the housing.
- Install compatible LED bulbs (often included with trim kits).
9. Test the System
- Restore power and test each light.
- Troubleshooting:
- No power? Check connections and circuit breaker.
- Flickering? Ensure wire nuts are tight.
10. Finalize Installation
- Adjust trims for alignment.
- Patch accidental drywall damage with joint compound.
- Schedule an ESA inspection if required.
Key Challenges & Solutions
- Fire Blocks in Walls/Ceilings:
- Solution: Use a flexible auger bit (18″+) to drill through blocks. Feed wires carefully.
- Fishing Wires in Tight Spaces:
- Solution: Use glow rods with a magnetic tip to guide wires. Attach a pull string for stubborn runs.
- Insulation Obstructions:
- Solution: Use IC-rated housings and wear protective gear when handling fiberglass.
- Circuit Overload:
- Solution: Calculate total wattage in advance. If exceeding limits, hire an electrician to add a circuit.
Safety Checklist
- ✅ Confirm power is off with a voltage tester.
- ✅ Use IC-rated housings near insulation.
- ✅ Secure all wires with wire nuts and tape.
- ✅ Wear goggles and gloves when cutting drywall.
When to Call a Professional
- If the circuit needs upgrading.
- If you encounter knob-and-tube wiring (common in older Toronto homes).
- If ESA permits/inspections feel overwhelming.
By following these steps, you can safely install recessed lighting in Toronto without attic access. Prioritize code compliance and safety—when in doubt, consult an ESA-licensed electrician!

Installing pot lights (recessed lighting) in Toronto involves navigating various ceiling types, local building codes, and integrating modern smart lighting systems. Below is a detailed guide to help you manage these complexities:
1. Dealing with Different Ceiling Types in Toronto
Toronto homes often feature diverse ceiling structures. Here’s how to approach each type:
a) Drywall Ceilings (Most Common)
- Installation: Use standard recessed housings (new construction or retrofit).
- Challenges:
- Joist spacing: Toronto homes may have 16″ or 24″ joist spacing. Measure before cutting holes.
- Insulation: Use IC-rated housings if insulation is present (required by Ontario Building Code).
- Moisture: In basements, opt for airtight/vapor-sealed fixtures to prevent condensation.
b) Concrete Ceilings (Common in Basements or High-Rises)
- Installation: Surface-mounted LED pot lights or wafer-thin recessed lights (minimal depth).
- Challenges:
- Requires concrete drilling with diamond-tipped bits.
- Hire a professional to avoid structural damage.
- Use low-voltage LED systems to simplify wiring.
c) Drop Ceilings (Common in Commercial/Retrofit Spaces)
- Installation: Use lightweight retrofit housings or suspension grid-compatible fixtures.
- Challenges:
- Ensure fixtures are secured with T-bar brackets.
- Avoid heavy housings that could sag the grid.
d) Sloped Ceilings (Vaulted or Cathedral Styles)
- Installation: Use sloped-ceiling housings with adjustable trims (e.g., 15°–45° angles).
- Challenges:
- Align light direction for even illumination.
- Ensure proper insulation clearance.
e) Coffered or Decorative Ceilings
- Installation: Place lights in flat sections of the coffer.
- Challenges:
- Avoid damaging decorative moldings.
- Use small-aperture fixtures (2″–3″) for subtlety.
2. Integrating Smart Lighting Systems
Smart lighting is popular in Toronto for energy savings and convenience. Key considerations:
a) Compatibility
- Smart Bulbs vs. Smart Switches:
- Smart bulbs (e.g., Philips Hue, Nanoleaf) require constant power (no physical switch use).
- Smart switches/dimmers (e.g., Lutron Caséta) work with standard dimmable LEDs.
- Ensure fixtures are dimmable and compatible with your smart system.
b) Wiring & Retrofitting
- Neutral Wires: Most smart switches require a neutral wire (check older Toronto homes).
- Retrofit Housings: Use IC-rated retrofit kits for existing ceilings to avoid rewiring.
c) Voice Control & Automation
- Pair with Alexa, Google Home, or Apple HomeKit for voice commands.
- Use motion sensors or geofencing for automated activation (ideal for Toronto condos/basements).
d) Zoning & Scene Setting
- Group lights into zones (e.g., kitchen vs. living room) via the app.
- Create scenes (e.g., “Movie Night”) to adjust brightness/color temperature.
3. Toronto-Specific Considerations
a) Building Codes & Permits
- Permits: Electrical work in Toronto often requires a permit (ESA approval).
- Insulation Contact (IC) Rating: Mandatory for ceilings with insulation.
- Condos: Check condo board rules for alterations (common in downtown high-rises).
b) Energy Efficiency
- Choose ENERGY STAR®-certified LEDs to comply with Ontario efficiency standards.
- Smart systems reduce energy use via scheduling/motion detection.
c) Professional Help
- Hire an ESA-licensed electrician for complex installations (e.g., concrete ceilings).
- Use certified smart-home integrators for advanced setups.
4. Cost & Time Estimates
- Drywall/Coffered Ceilings: 150–300 per light (including labor).
- Concrete Ceilings: 250–500 per light (drilling + labor).
- Smart Systems: Add 50–150 per switch/bulb + installation.
Final Tips
- Test smart systems before finalizing placement.
- Use pot light spacing calculators to avoid over/under-lighting.
- For heritage homes, consult Toronto Heritage Preservation Services for guidelines.
By addressing ceiling-specific challenges and leveraging smart technology, you can achieve a modern, code-compliant lighting setup in Toronto. Always prioritize safety and professional input for complex scenarios!
Here’s a detailed breakdown of budgeting, material costs, and time investment for pot light (recessed lighting) installation:
1. Budgeting
Total Cost Range:
- DIY: 20–150 per light (materials only).
- Professional: 150–400+ per light (including labor and materials).
Cost Factors:
- Materials (per fixture):
- Housing/Can: 10–100 (IC-rated for insulation contact: 20–50; non-IC: 10–30).
- Trim: 5–50 (basic baffle: 5–15; adjustable/gimbal: 20–50).
- Bulbs: 5–30 (LED retrofit kits often include trim + bulb: 20–50).
- Wiring/Supplies: 1–5 per foot (Romex cable, wire connectors, junction boxes).
- Switch/Dimmer: 10–50 (smart dimmers: up to $100).
- Labor (if hiring):
- Electrician rates: 50–150/hour or 100–250 per fixture.
- Example: Installing 6 lights professionally costs ~900–2,400 total.
2. Material Costs
Essential Components:
- Housing Type:
- Remodel Housings: 15–50 (for existing ceilings).
- New Construction Housings: 10–30 (requires ceiling access).
- Trim Styles:
- Baffle (reduce glare): 5–20.
- Reflector (brighten space): 10–25.
- Adjustable (directional): 20–50.
- Bulbs:
- LED (6W–12W, 600–1,200 lumens): 10–30 (long lifespan, energy-efficient).
- Halogen/Incandescent: 5–15 (less efficient).
Tools & Safety Gear (DIY):
- Drywall saw (15–30), wire strippers (10–20), voltage tester (10–30).
- Ladder, safety glasses, gloves.
3. Time Investment
DIY Installation:
- Planning: 1–2 hours (layout, measuring, marking).
- Installation:
- Cutting holes: 10–20 minutes per light.
- Wiring/connecting: 30–60 minutes per light.
- Total: 6–12 hours for 6–8 lights (novice); 4–8 hours (experienced).
Professional Installation:
- 2–5 hours for 6–8 lights (depending on attic access, wiring complexity).
4. Additional Costs & Considerations
- Electrical Upgrades: 500–2,000+ if panel upgrade needed.
- Drywall Repair: 50–150 per hole (if mistakes occur).
- Permits: 50–200 (varies by location; often required for electrical work).
- Energy Savings: LED bulbs use 75% less energy than incandescent, saving long-term.
5. Tips to Reduce Costs
- DIY-Friendly Steps: Install housings/trims yourself; hire an electrician for wiring.
- Reuse Wiring: If adding to an existing circuit.
- Choose Standard Sizes: 4″–6″ diameters are widely available and affordable.
6. Safety & Compliance
- Turn off power at the breaker before working.
- Use IC-rated housings if near insulation.
- Check local building codes for spacing, fire safety, and permits.
By balancing DIY efforts with professional help for complex tasks, you can optimize costs and ensure a safe, efficient installation.
For reliable and professional electrical services, call Toronto Wiring at (647) 847-6252